


Installing a curtain rod is one of the easiest ways to upgrade your windows and make any room feel more polished. Whether you are hanging custom curtains, sheer curtains, blackout curtains, linen curtains, or pleated drapes, the right curtain rod placement helps your window curtains look more elegant and function better.
If you are wondering how to install a curtain rod, this guide will walk you through the basic steps, the tools you need, and a few simple tips to help your living room curtains, bedroom curtains, or custom window treatments look professionally finished.
What You Need to Install a Curtain Rod
Before you begin, gather these tools and materials:
- Curtain rod
- Curtain rod brackets
- Screws and wall anchors
- Tape measure
- Pencil
- Level
- Drill or screwdriver
- Step ladder
If you are installing heavy curtains, such as blackout curtains, velvet curtains, or lined custom drapes, make sure to use strong wall anchors or install the brackets into wall studs for extra support.

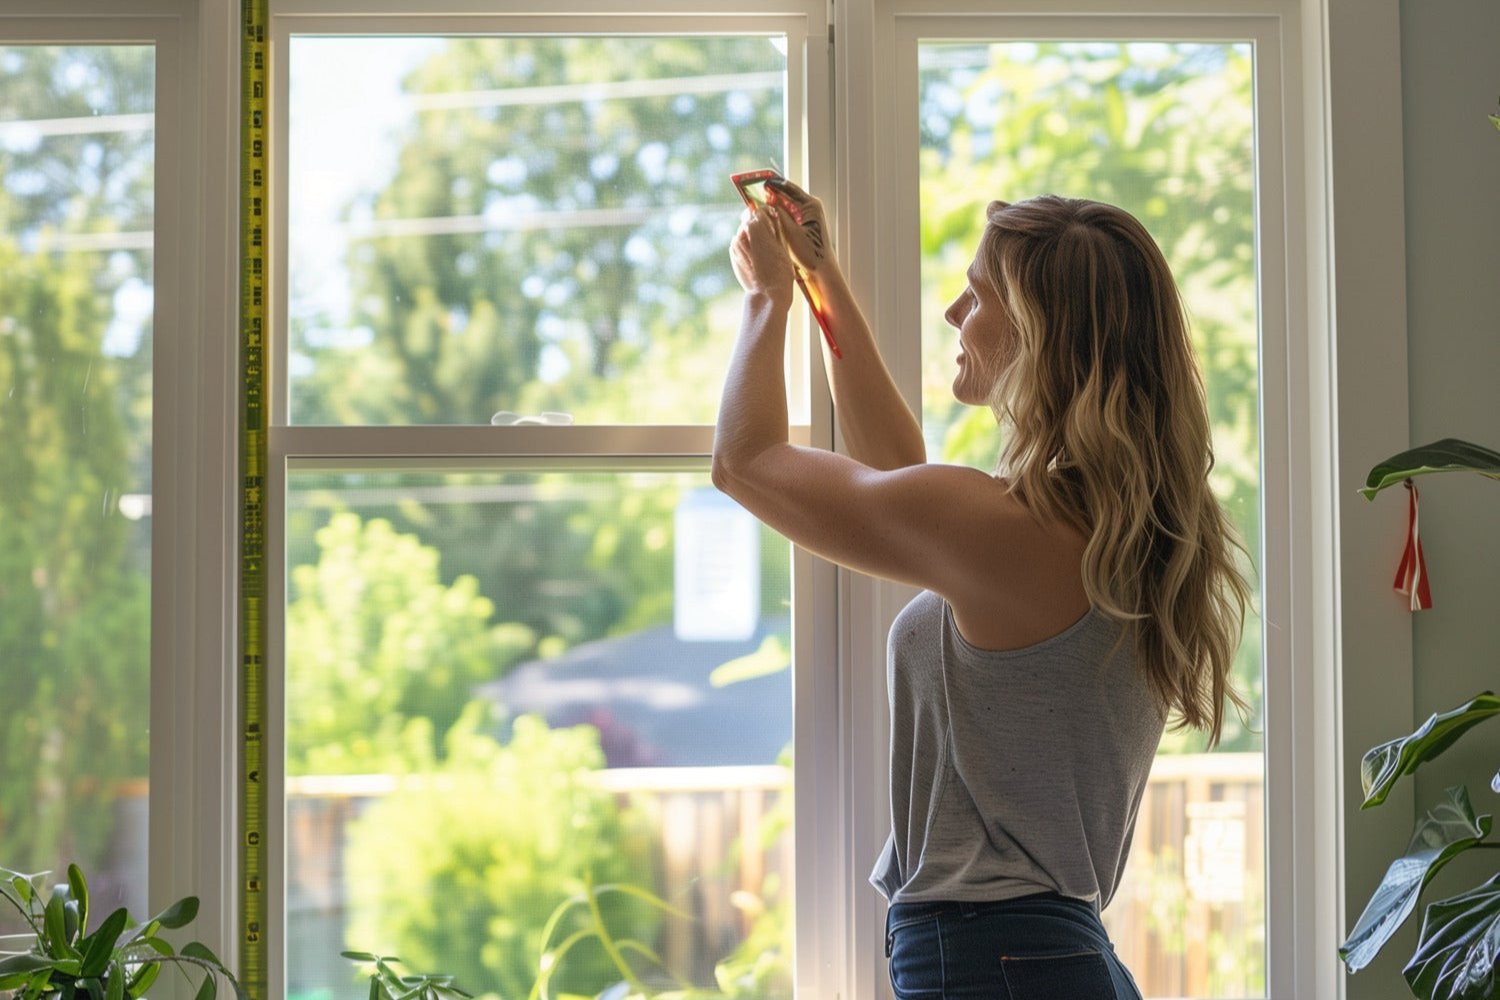
Step 1: Measure the Window
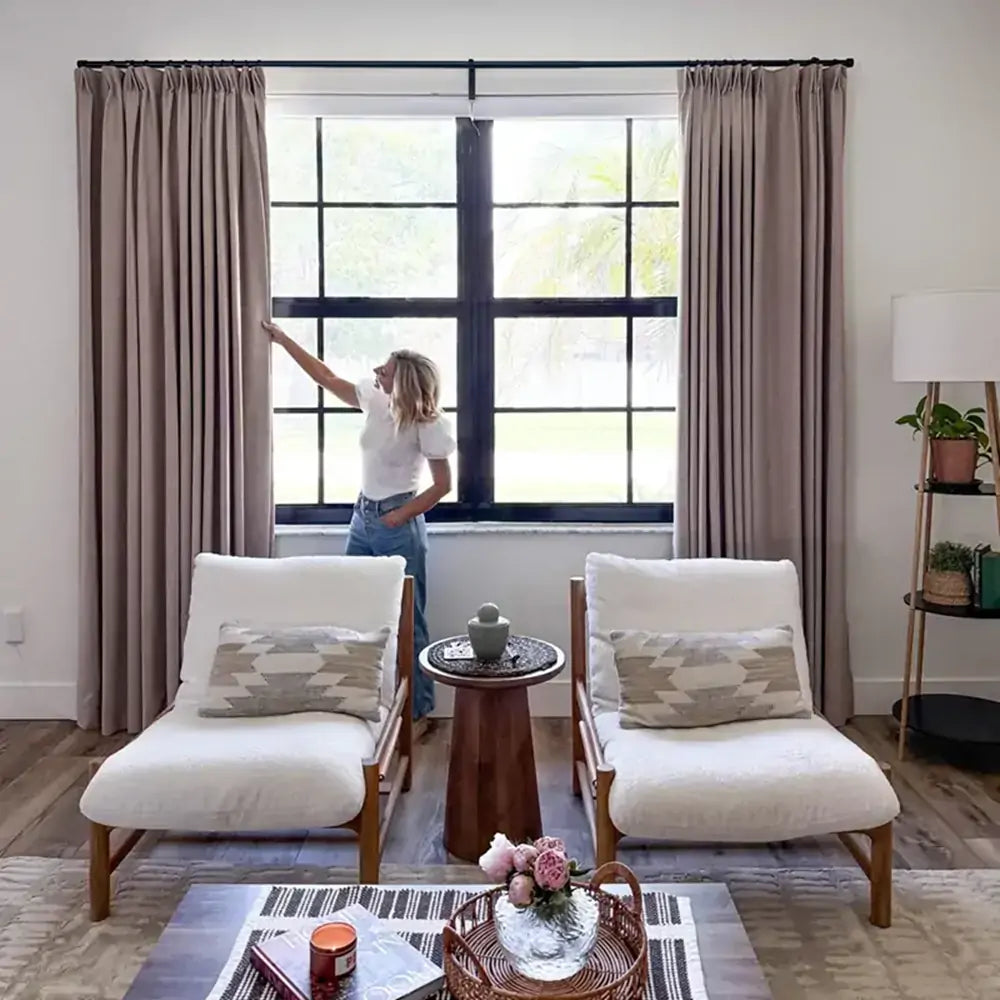
Start by measuring the width of your window frame. For the best look, the curtain rod should usually extend 6 to 12 inches past each side of the window. This gives your curtain panels enough room to stack back when open and helps the window look wider.
If you are installing a curtain rod for large windows or custom curtains, a wider rod can create a more balanced and elevated look. Extending the rod 6–15 inches beyond each side of the window can also work well. However, it is generally not recommended to go beyond 15 inches, unless you are designing a full-wall curtain treatment.

Step 2: Decide How High to Hang the Curtain Rod
A common rule is to install the curtain rod 4 to 8 inches above the window frame. If you want the room to feel taller, you can place the rod even higher, closer to the ceiling or crown molding.
Hanging curtains higher helps:
- Make windows look larger
- Make ceilings appear taller
- Improve the look of floor-length curtains
- Give custom window curtains a more tailored finish
This is a great approach for bedroom curtains, living room drapes, linen curtains, and sheer curtain panels.
Step 3: Mark the Bracket Placement
Use a pencil to mark where each curtain rod bracket will go. Make sure the marks are level on both sides of the window.
If your curtain rod is extra wide or you are using heavier curtain panels, you may need a center support bracket to prevent the rod from sagging.
A center bracket is often recommended for:
- Wide window curtains
- Blackout curtain panels
- Velvet curtains
- Custom pleated curtains
- Layered curtains
Step 4: Drill Holes and Install Wall Anchors
Drill pilot holes where you marked the bracket positions. If you are not drilling into studs, insert wall anchors before attaching the screws.
This step is important for heavier curtain styles, especially:
- Blackout curtains
- Room darkening curtains
- Velvet drapes
- Lined curtains
- Custom drapery panels
Strong support helps your curtains hang securely and keeps the rod stable over time.
Step 5: Attach the Curtain Rod Brackets
Screw the brackets into place and check that they are level. Once they are secure, place the curtain rod into the brackets.
If you are using grommet curtains, rod pocket curtains, or back tab curtains, thread the curtain panels onto the rod before placing it on the brackets.
If you are hanging pinch pleat curtains or pleated drapes, attach the curtain hooks or rings first, then hang them on the rod.
Step 6: Hang the Curtains and Adjust the Look
Once the rod is in place, hang your curtains and adjust the pleats, folds, or panels so they fall evenly.
For the best result:
- Let curtains touch the floor or float slightly above it
- Make sure the curtain width looks full, not flat
- Adjust pleats for a more tailored appearance
- Steam or smooth the fabric if needed
This final step makes a big difference for custom curtains, linen drapes, sheer curtains, and blackout curtains.
Tips for Different Curtain Styles
Sheer Curtains
Sheer curtains look best when installed high and wide for a soft, airy effect. They are perfect for living rooms, dining rooms, and layered window treatments.
Blackout Curtains
Blackout curtains should be installed high and slightly wider than the window to help block more light. They are ideal for bedrooms, nurseries, and media rooms.
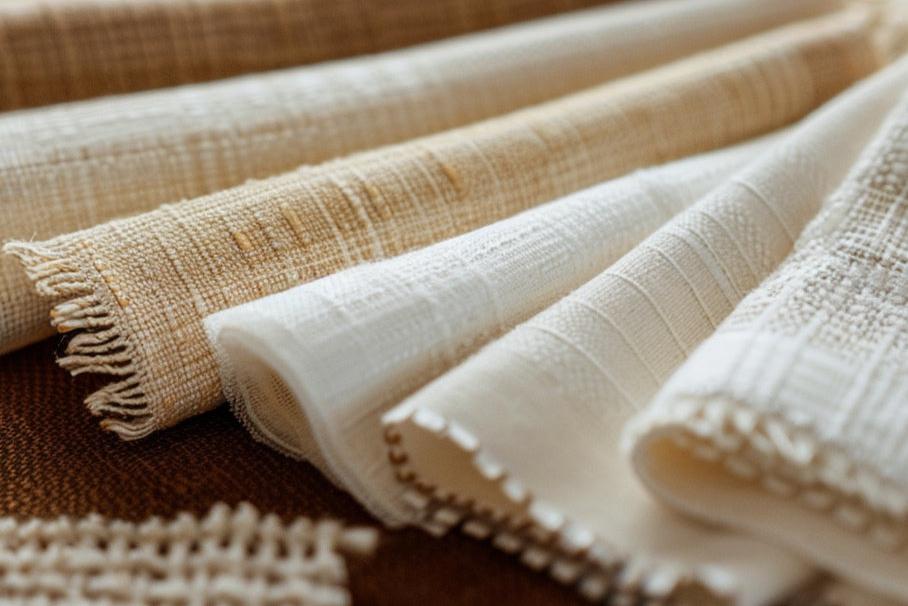
Linen Curtains
Linen curtains bring natural texture and relaxed elegance. A simple rod and high placement work beautifully for both modern and classic interiors.
Pleated Curtains
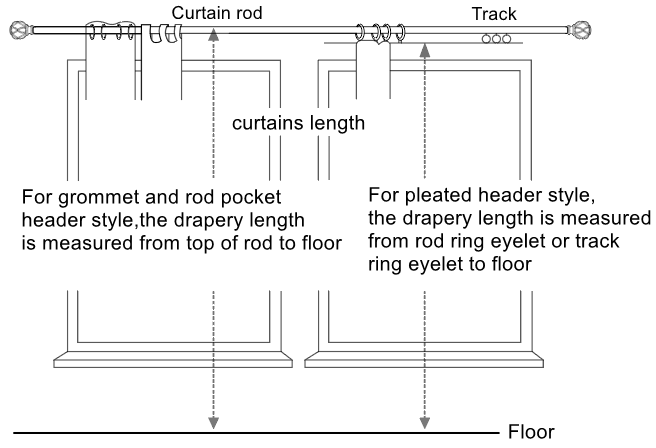
Pleated curtains and pinch pleat drapes create a more refined, custom look. Make sure the rod height and curtain length are measured carefully for the best finish.

Common Curtain Rod Installation Mistakes to Avoid
Avoid these common mistakes when installing curtain rods:
- Hanging the rod too low
- Choosing a rod that is too narrow
- Using weak anchors for heavy curtains
- Installing brackets unevenly
- Choosing curtains that are too short
- Forgetting center support for wide windows
The right rod placement helps your custom curtains, window drapes, and curtain panels look more intentional and designer-inspired.
Final Thoughts
Learning how to install a curtain rod is a simple but important step in creating beautifully finished windows. By placing the rod higher and wider than the window frame, using the right support, and pairing it with the right curtains—whether sheer curtains, linen curtains, blackout curtains, or custom pleated drapes—you can make any room feel taller, softer, and more polished.
Whether you are styling living room curtains, bedroom curtains, or custom window treatments, the right curtain rod installation helps your home look more complete and professionally designed.
IXA Curtains, we create custom curtains that bring warmth, texture, and refined style to beautifully lived-in🔗 Shop the Collection at ixacurtains.com
FAQ
How high should I install a curtain rod?
Most curtain rods should be installed 4 to 8 inches above the window frame or closer to the ceiling for a taller look.
How far should a curtain rod extend past the window?
A curtain rod should usually extend 6 to 12 inches past each side of the window.
Do I need wall anchors for a curtain rod?
Yes, especially if you are hanging heavy curtains like blackout curtains, velvet curtains, or lined custom drapes.
Can I install a curtain rod without drilling?
Yes, some lightweight curtain rods can be installed with no-drill brackets, but drilled installation is more secure for most window curtains.