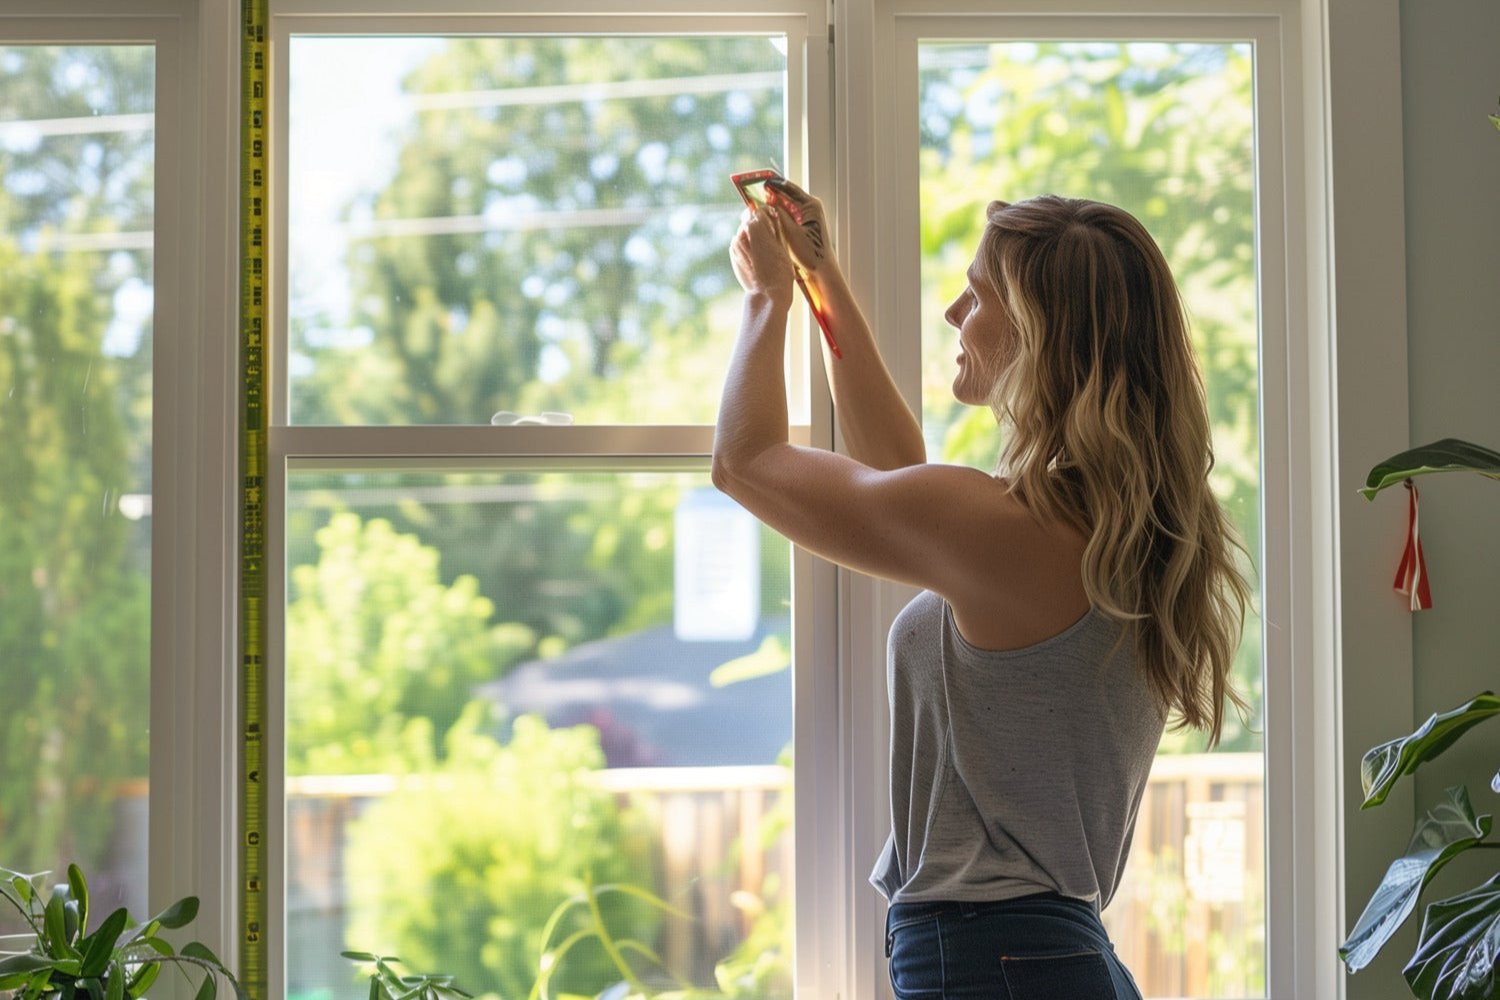
Accurate measurements ensure Roman shades fit perfectly. Precise dimensions prevent gaps and enhance aesthetics. Gather essential tools before starting. Use a measuring tape, pencil, paper, step stool, and level. Follow tips for accurate results.
- Measure twice for precision.
- Record measurements to the nearest 1/8 inch.
- Use a sturdy measuring tape.
These steps help achieve the best fit when you measure for roman shades.
Getting Started
Tools and Materials Needed
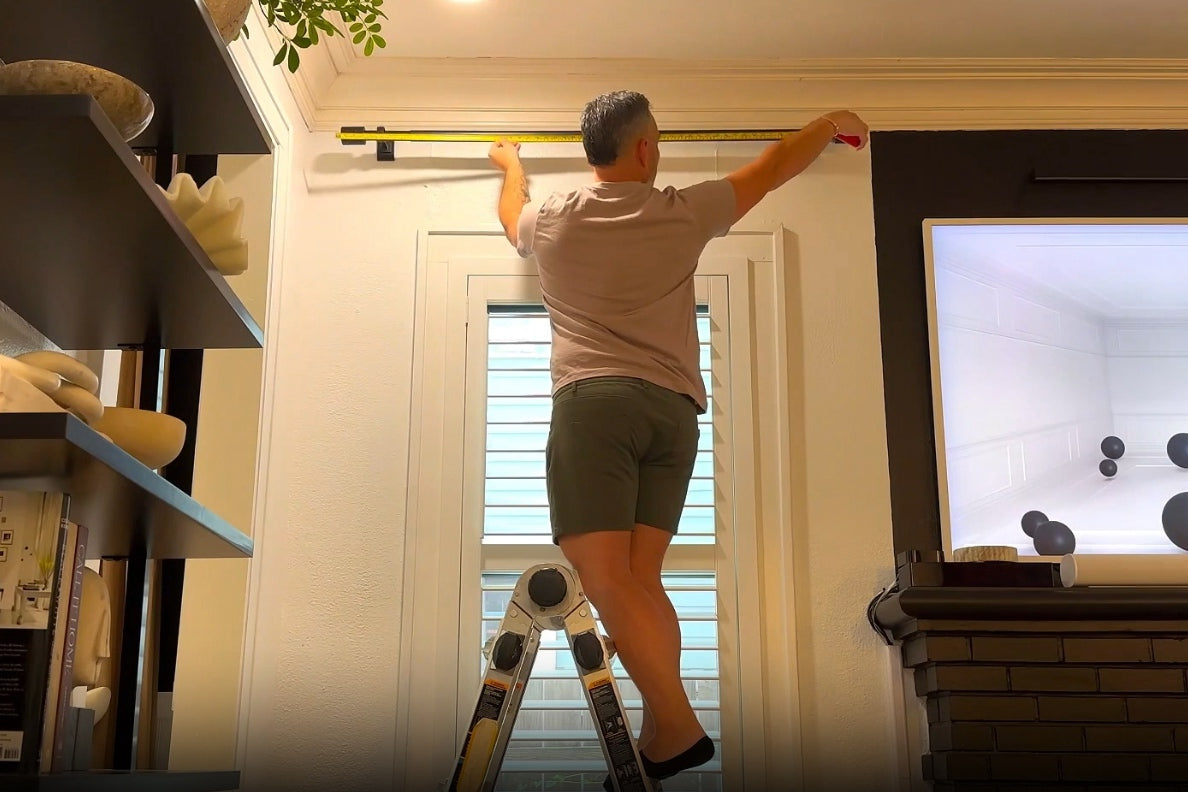
Measuring tape
A measuring tape provides accurate dimensions. Choose a sturdy one for reliability.
Pencil and paper
Use a pencil and paper to record measurements. Write down each dimension clearly.
Step stool or ladder
A step stool or ladder helps reach higher areas. Ensure stability for safety.
Level
A level ensures straight lines. Use it to verify horizontal measurements.
Tips for Accurate Measurements
Measure twice, cut once
Double-check each measurement. Accuracy prevents errors when you measure for roman shades.
Record measurements to the nearest 1/8 inch
Note dimensions precisely. Round down if the size falls on a 1/16" mark.
Use a sturdy measuring tape
A strong measuring tape avoids sagging. Consistency improves accuracy when you measure for roman shades.
Deciding on Mount Type
Inside Mount
Pros and cons of inside mount
- Pros:
- Creates a sleek, clean look.
- Maximizes the visibility of window trim.
- Saves space by fitting within the window frame.
- Cons:
- Requires precise measurements.
- May not fit well in windows with obstructions or irregular shapes.
Suitable window types for inside mount
- Windows with deep frames provide ample space for mounting hardware. Windows without obstructions like handles or locks ensure a snug fit.
- Square or rectangular windows offer the best results.
Outside Mount
Pros and cons of outside mount
- Pros:
- Covers imperfections around the window frame.
- Makes windows appear larger.
- Easier to install due to less precise measurements.
- Cons:
- Takes up more wall space around the window.
- Can obstruct decorative moldings or trims.
Suitable window types for outside mount
- Shallow windows benefit from an outside mount as it does not require depth within the frame.
- Irregularly shaped windows achieve better coverage with an outside mount. Windows with obstructions like handles or locks work well with this option.
Measuring for Inside Mount
Measuring Width

Measure at the top, middle, and bottom
Use a measuring tape to measure the width of the window frame. Start at the top, then move to the middle, and finally measure at the bottom. Ensure that each measurement is accurate.
Record the narrowest measurement at the top, middle and bottom
The shade width=window narrowest width-3/8 inch
Measuring Height
The shade height=window height
(NOTE: Inside install 3.2inches minimum depth requirement!)
Measuring for Outside Mount
Measuring Width & Height

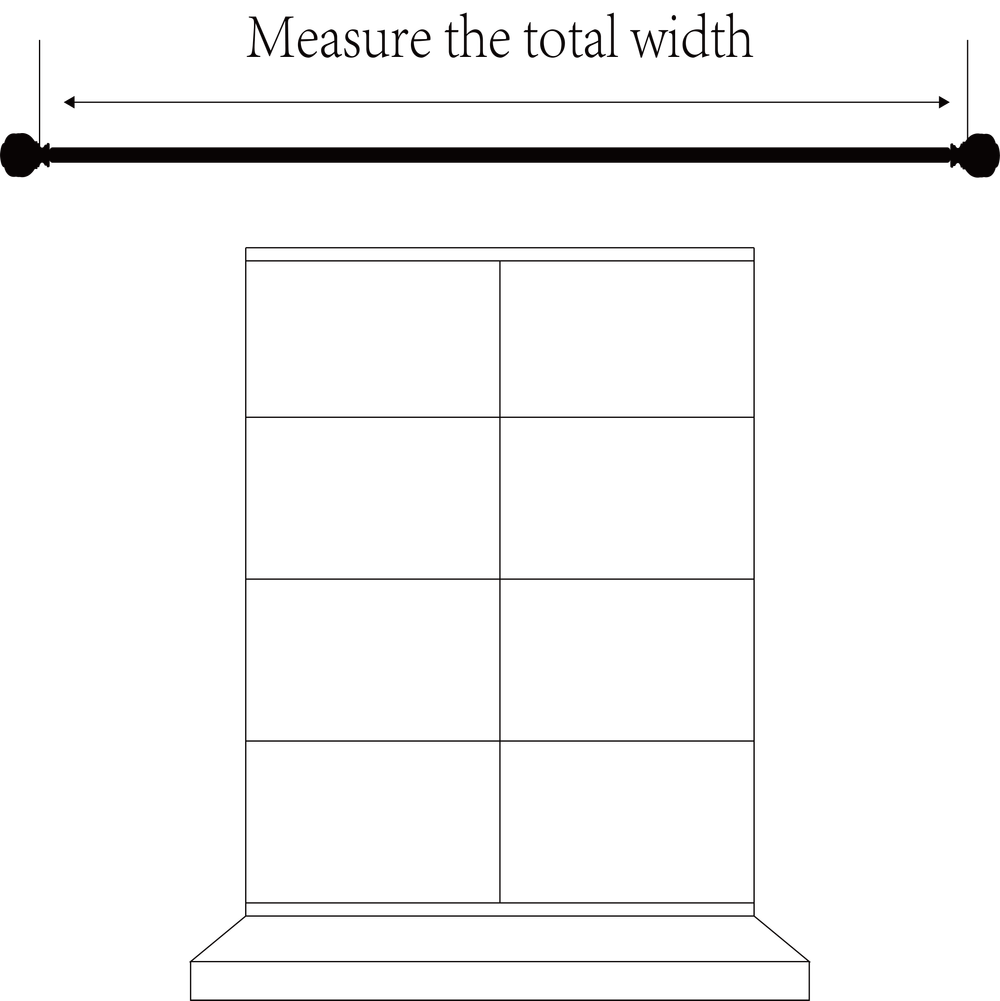
Measure the desired width of the shade
Use a measuring tape to determine the desired width of the Roman shade. Start from one edge of the window frame and extend to the other side. Ensure that you measure straight across for accuracy.
Add extra width for better coverage
Add extra inches to your measurement. This ensures better coverage and minimizes light gaps. Typically, adding 2-6 inches on each side works well.
Measuring Height
Measure from the top of the window frame to the desired length
Measure from the top edge of the window frame down to where you want the shade to end. Use a sturdy measuring tape for precise results.
Add extra height for mounting hardware
Include additional inches in your measurement. This accounts for mounting hardware and ensures proper installation. Adding 2-6 inches above your desired length is usually sufficient.
By following these steps, you will achieve accurate measurements for an outside mount Roman shade. Proper dimensions ensure optimal coverage and functionality, enhancing both privacy and aesthetics in your space.
